Skip to content
The glue that holds up eyelashes makes the eyes beautiful, but when closing down for the day comes along, one needs a proper application to remove the adhesives. Removing the glue on eyelashes will ache on your skin while, at the same time, damage your natural eyelashes if one is very careless.
This is how you are going to follow simple step-by-step guidelines on how to easily and safely remove your eyelash glue. It is what kind of tools to use, what you should not avoid, and which are the healthy tips given for your lashes. Finally, you will feel self-confident about cleaning your lashes like pros.
What You Need Before You Begin
Prepare everything before, so you won’t need to bother removing that glue. The things needed include:
- Cotton Pads or Swabs: These help you get the remover precisely on the glues.
- Eyelash Glue Remover: Use a proper remover for lash glue designed with high quality.
- Micellar Water or Makeup Remover: Best used for cleaning out the glues left.
- Tweezers or Your Fingers: Tweezers do an excellent job of unsticking obstinate glue, and fingers might just work too.
- Fresh towel: Pat dry your eyes after this.
All these prepared in advance save a lot of time as well as minimize the mess
Step 1: Wash Hands and Face
First comes hand washing. Clean hands do not let the germs enter into the eyes. Take some lukewarm water, and rub it over the face. The gentle application of a gentle cleanser on the eyelids shall remove dirt, oil, and makeup, which later removes the glue.
Pro Tip: Don’t rub your eyes to rub it away. Rubbing damages the skin and lash.
Step 2: Choice of Remover
Choose a remover that is compatible with your skin type. There are two primary options
- Oil Based Removers: It removes adhesives very fast as well as is soothing.
- Water-Based Removers: Gentle, friendly for use on sensitive skin
Pro Tip: Dab a small amount of remover onto the skin using a cotton pad or swab. If using micellar water, wet the pad to damp but not droopy
Step 3: Apply Remover to Lashes
Let the cotton pad rest on the lash line for about 10–15 seconds. While it soaks in, it will loosen the bond of the glue, thus lessening the amount of pain there is while removing it.
Pro Tip: Press it softly. Too much pressure irritates your skin, or in some cases, natural lashes get damaged.
Step 4: Remove Fake Lashes
If the glue has softened, take a lash strip in your fingers and pull it through the outside corner of your eye from its inner corner. If you are still stubborn, let there be more remover and wait a while. Individual lashes are tugged out with tweezers carefully, one by one.
Pro Tip: Never pull or tug the lashes. It hurts your skin and, at worst, pulls out some of your natural lashes.
Step 5: Clean Out Extra Glue
Check in the mirror after you take off the lash to see if there is any extra glue left on your eyelids and your natural lashes. Wipe with a cotton swab soaked in remover; drag it along your lash line very gently until all glue is gone.
Pro Tip: take a good look in the mirror so you do not miss all the spots.
Step 6: Clean and Moisturize Your Skin
Wash your face again with a gentle cleanser. Rinse very well to remove all the remover still clinging to your face. Dry your face by patting a clean towel gently. Apply a light moisturizer or an eye cream to hydrate the skin around your eyes.
Pro Tip: Do not use heavy creams around your eyes, as they can close the pores and irritate the skin.
Step 7: Clean and Store Fake Lashes
Clean lashes very well so that you can use them again. Using a cotton swab and micellar water, gently peel away the glue sticking on the band from your lash strip. Let them dry completely before you store the lashes to keep them safe.
Pro Tip: Never wet the lash as this will damage it; this will permanently distort and disfigure it.
Tips on Removing the Lash Pain-free
- Always moisten with warm water or steam the glue before its removal.
- Just sit tight and let the remover work. Hurriedly doing it may hurt your skin or the lashes.
- Keep the lashes clean to avoid buildup that makes glue more challenging to remove.
Things Not to Do During Its Removal?
This has resulted in a source of damage to the skin and lashes. Avoid them:
- Rub your eyes. This causes redness
- Chemical Harsh. This has nail polish remover that is harmful to the skin and eyes.
- You failed to moisturize. Annoying, painful, and dry skin.
How Often Would You Be Expected to Remove Glue?
Always take away surplus glue when you remove your fake lashes. This enables the glue residue to irritate and sometimes even cause infection around the lash line. Healthy natural lashes and fresh eyes are always guaranteed.
It won’t harm your actual lashes and sensitive skin around your eyes, but it will also elongate the lifetime of your fake lashes, which will save you money in the long run. It takes extra minutes to complete these steps to ensure safe and effective removal.
Conclusion: Gentle Goodbye to Eyelash Glue
In conclusion, removing eyelash glue does not have to be a chore and in pain. Using the right tools and with a little patience, you may remove it safely without touching your natural lashes.
However, if you want to buy the lashes and their glue at affordable rates, purchase them in bulk from the best and a reputable China eyelash glue manufacturer. This will help you find the glue and the extension in bulk at low prices without compromising on the high quality of the product.
Moreover, remember to clean those lashes, moisturize your skin, and avoid chemicals; you will be just fine with these easy steps that protect your natural lashes for fabulous looks each time. Now you will know exactly what to do the next time your lashes get removed.

Fanny
Lash Technician
Hi, I’m Fanny, the author of this post.
Over the past 5 years, we have assisted numerous lash salons and technicians across 20 countries to build their lash brand and grow their businesses with high-quality lash extension products.
If you have any questions or need assistance, feel free to reach out for a free consultation or to discuss tailored solutions for your business needs.
More Interesting Posts
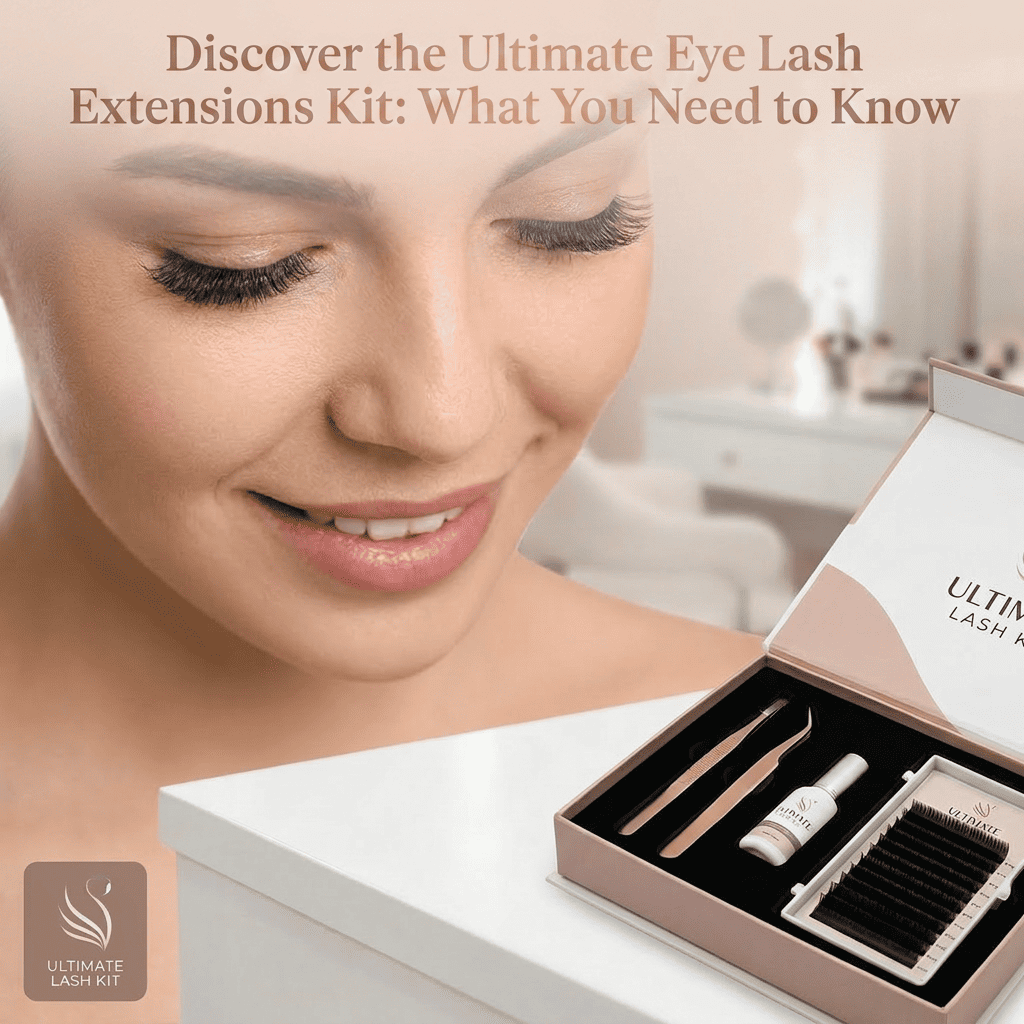
Discover the Ultimate Eye Lash Extensions Kit: What You Need to Know
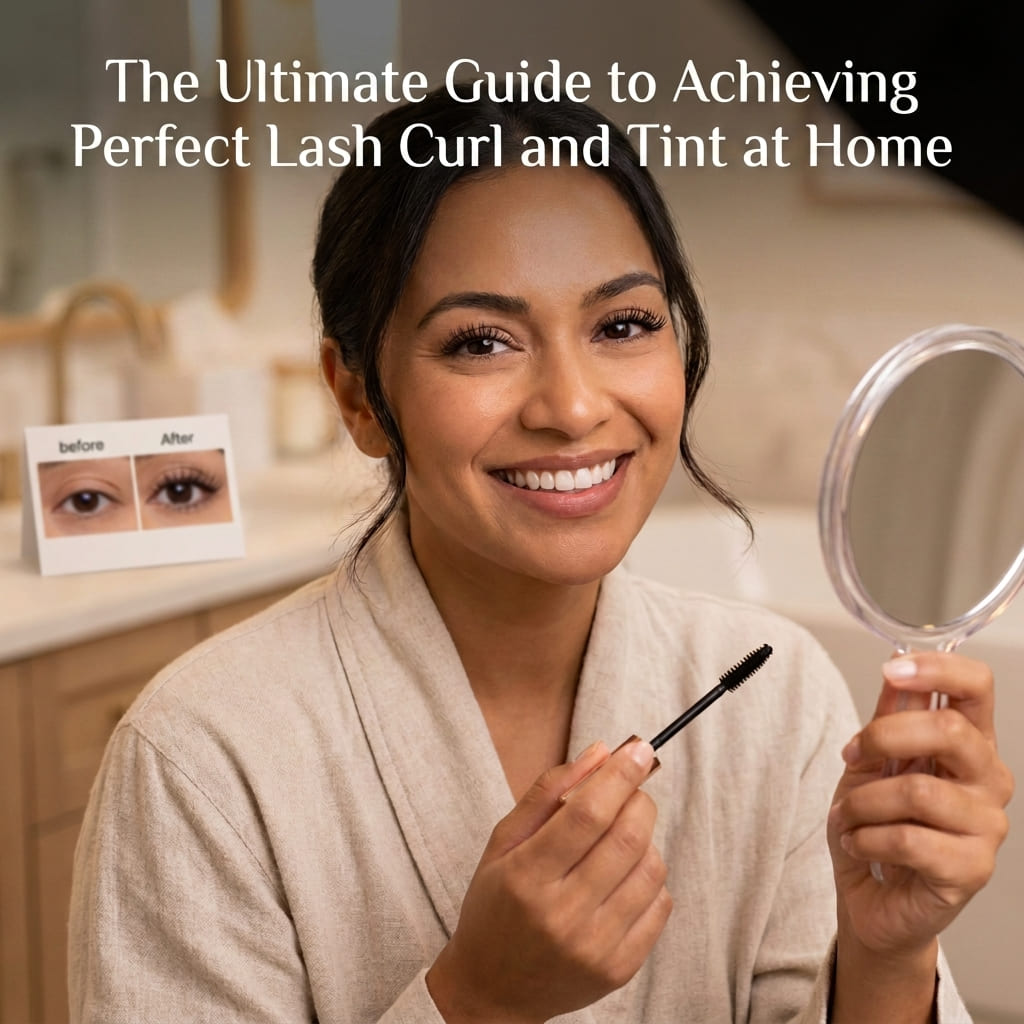
The Ultimate Guide to Achieving Perfect Lash Curl and Tint at Home