Skip to content
I’ve seen it happen countless times: your once-flawless eyelash extensions start to thin out, leaving you with a sparse, uneven lash line. Maybe your next salon appointment is weeks away, or perhaps you’ve decided to take a break and let your natural lashes breathe. The temptation to just pull them off is strong, I know. But doing so can cause serious damage to your natural lashes, leaving them broken, weak, and even shorter than before. You’re stuck in a frustrating spot—you want them gone, but you don’t want to sacrifice the health of your lashes in the process.
The good news is that you don’t have to choose between a messy look and damaging your lashes. I’m here to walk you through a safe, effective, and gentle method to remove your eyelash extensions at home. This guide will help you dissolve the adhesive bond without harming your natural lashes, ensuring they stay healthy and strong for whatever look you choose next.
Why Professional Removal is Best (But Not Always an Option)
Before we dive in, I want to be clear: having your extensions removed by a certified lash technician is always the safest route. Professionals use specially formulated removers that dissolve the potent adhesive quickly and safely. They have the tools and expertise to isolate each extension and ensure no damage occurs.
However, life happens. Sometimes you can’t get an appointment, you’re traveling, or your budget is tight. In these situations, a careful at-home removal is your next best option. This guide is designed for those moments, prioritizing the health and safety of your natural lashes above all else.
Gather Your Supplies: What You’ll Need
To get started, you’ll need a few key items. Most of these can be found in your bathroom or kitchen.
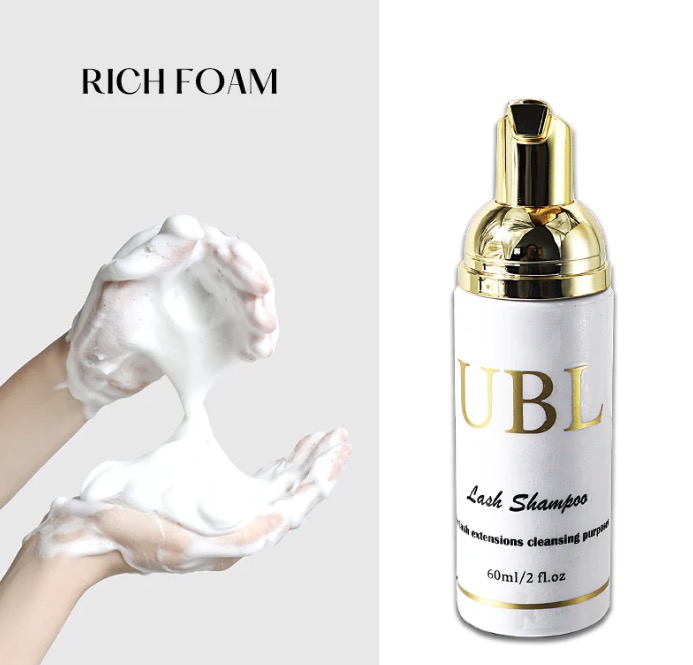
- A Gentle, Oil-Free Cleanser: To start with a clean, makeup-free base.
- Cotton Pads and Q-tips: For precise application and removal.
- A Bowl of Hot Water and a Towel: For steaming, which helps loosen the adhesive.
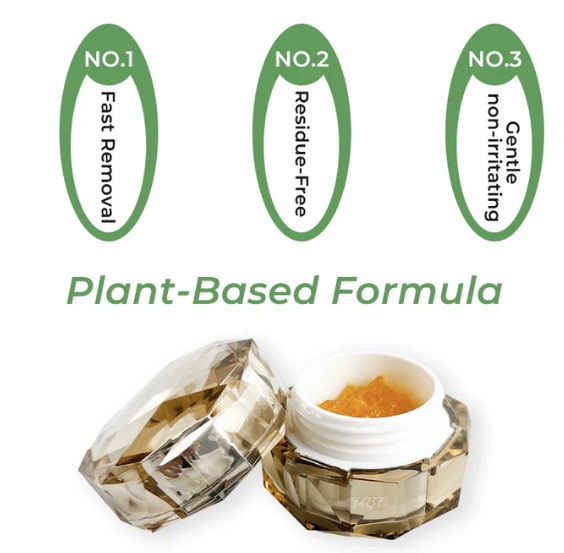
- An Oil-Based Remover: This is the star of the show. You can use coconut oil, olive oil, or a specially designed lash extension remover.
- A Clean Mascara Spoolie: To gently separate lashes.
- A Magnifying Mirror: To see exactly what you’re doing.
Your Step-by-Step Guide to Safely Removing Eyelash Extensions
Follow these steps carefully and, most importantly, be patient. Rushing the process is how damage happens.
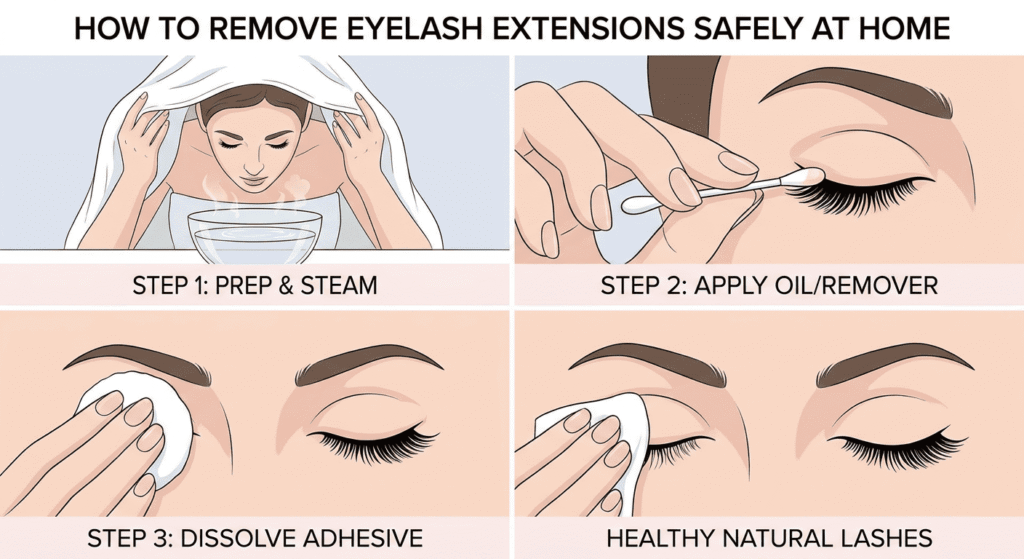
Step 1: Remove All Makeup
Start by thoroughly cleansing your face, paying special attention to the eye area. Use a gentle, oil-free cleanser and cotton pads to remove any traces of mascara, eyeliner, or eyeshadow. You want a completely clean canvas so the oil can work directly on the lash adhesive without any barriers. Pat your face dry gently.
Step 2: Steam Your Face
This is a relaxing step that does wonders for loosening the stubborn lash glue. Fill a medium-sized bowl with hot, steaming water. Lean over the bowl (at a safe distance to avoid burns) and drape a towel over your head to trap the steam. Stay like this for 10-15 minutes. The warm, moist air will help soften the adhesive bonds, making the extensions easier to remove.
Step 3: Apply Your Oil-Based Remover (Dive Deeper Paragraph)
This is the most critical step, where the magic really happens. Choose a high-quality oil like cosmetic-grade coconut oil or even olive oil. These natural oils are known for their ability to break down the cyanoacrylate in lash adhesive without harsh chemicals. Saturate a cotton pad with your chosen oil. Close one eye and gently hold the pad over your lash line, allowing the oil to soak in for at least five minutes. The key here is prolonged contact. You want the oil to seep into the base of the extensions and dissolve the glue. After soaking, take a Q-tip dipped in oil and gently work it along your lash line, right where the extensions are bonded. Use small, circular motions. You might start to see some extensions slide off onto the Q-tip or cotton pad. This is a sign that the adhesive is breaking down. Remember to be incredibly gentle; there should be no pulling or tugging. If you feel any resistance, apply more oil and wait a bit longer. Patience is your best friend during this part of the process.
Step 4: Gently Slide the Extensions Off (Dive Deeper Paragraph)
Once the oil has had ample time to work, it’s time to encourage the extensions to come off. Using a clean mascara spoolie or another Q-tip, gently brush through your lashes in a downward motion, from root to tip. The extensions that are ready to come off should slide away easily with your natural lashes remaining intact. It’s important to understand that you are not forcing them off; you are simply guiding the ones that have already been loosened by the oil. If an extension doesn’t budge, it means the adhesive hasn’t fully dissolved yet. Do not, under any circumstances, pull it. Instead, reapply more oil to that specific area and give it more time. Repeat the process of applying oil and gently wiping until most, if not all, of the extensions have been removed. This step can take time, so put on some music or a podcast and settle in. Rushing will only lead to frustration and potential damage. The goal is a gentle and gradual removal, preserving every single one of your precious natural lashes.
Step 5: Cleanse and Nourish
After you’ve removed all the extensions, it’s time for cleanup and aftercare. Use your gentle cleanser again to wash away any residual oil and glue. This ensures your lash follicles are clean and can breathe. Follow up with a nourishing lash serum or a small amount of castor oil applied with a clean spoolie to condition your natural lashes. They’ve been through a lot, and this final step helps replenish moisture and promote healthy growth.
What to AVOID When Removing Lash Extensions
- DO NOT Pull, Pick, or Rub: This is the fastest way to pull out your natural lashes.
- DO NOT Use Tweezers: You risk plucking out both the extension and your natural lash.
- DO NOT Rush: Set aside at least 30-45 minutes for this process.
Conclusion
Knowing how to remove eyelash extensions at home is an empowering skill that can save you from a frustrating, uneven lash line and protect your natural lashes from damage. By following this step-by-step guide, you can safely and gently dissolve the adhesive, allowing your extensions to slide off while keeping your natural lashes healthy and intact. Remember that patience and a gentle touch are your most important tools. With a little time and the right technique, you can successfully manage your lashes between salon visits and keep them looking their best.