Skip to content
Avoiding Shock Polymerization in Lash Glue: Expert Tips for Safe Application
Understanding Shock Polymerization: What Is It?
Shock polymerization happens when lash glue suddenly hardens due to certain conditions, making lash applications less effective and often uncomfortable. For both lash technicians and clients, understanding this is key to a smooth lash extension experience.
This reaction usually occurs when the glue is exposed to high humidity, extreme temperatures, or stored improperly. Shock polymerization can cause poor retention, irritation, and sensitivity, making the adhesive less effective. That’s why it’s important for everyone involved to know how to prevent it.
By knowing the triggers and using best practices in storage, handling, and application, you can keep your lash extensions looking great and protect your natural lashes. Whether you’re an experienced lash artist or a beginner, being aware of shock polymerization is crucial for achieving long-lasting, beautiful results.

The Science Behind Lash Glue Polymerization
When you work with lash glue, polymerization is the magic that makes those extensions stick to natural lashes. This involves the main ingredient in most lash adhesives, cyanoacrylate, reacting with moisture on the lashes and in the air. Simply put, when the glue hits moisture, it goes from liquid to solid, securing the extension in place.
Why It Happens: Cyanoacrylate loves moisture. When it finds moisture, it starts forming strong bonds quickly. However, if there’s too much moisture, the glue can harden too fast, causing shock polymerization.
Finding the right balance is key. Controlling how quickly or slowly the glue hardens is crucial. If it sets too fast or too slow, the quality and longevity of the lash extensions can suffer.
Stay aware of how your environment affects glue, especially factors like humidity and temperature. Mastering these details will help you manage the application process expertly, ensuring your clients get beautiful, long-lasting lashes.
Common Triggers of Shock Polymerization
Shock polymerization refers to the sudden and uneven hardening of lash glue. This can result in clumpy, brittle bonds that compromise the health and appearance of lash extensions. Understanding the main triggers can help you avoid this issue.
Humidity: High humidity speeds up the curing process of lash glue, leading to premature polymerization. When adhesive dries too quickly, it doesn’t bond smoothly, causing shock polymerization. Keep a hygrometer handy to monitor humidity levels and keep them within the ideal range.
Temperature Extremes: Both high and low temperatures can affect lash adhesives. Extreme heat causes glue to cure too quickly, while cold temperatures make it thick and difficult to apply. Aim to work in a well-regulated environment to prevent these issues.
Incorrect Handling and Storage: Proper storage and handling of your adhesive are crucial. Exposure to air can introduce moisture, affecting its performance. Store your lash glue in a cool, dry place and make sure the cap is tightly closed after each use.
Improper Application Techniques: Using too much glue or not isolating individual lashes can lead to shock polymerization. When adhesive on overlapping lashes cures unevenly, it becomes brittle. Apply with precision and make sure each extension gets just the right amount of glue.
Eye Watering: Excessive eye watering during the service can add moisture to the glue, causing it to react too quickly. If you notice your client’s eyes watering, take immediate steps to address it by allowing brief breaks or using gentle eye pads.
1 Second Lash Glue
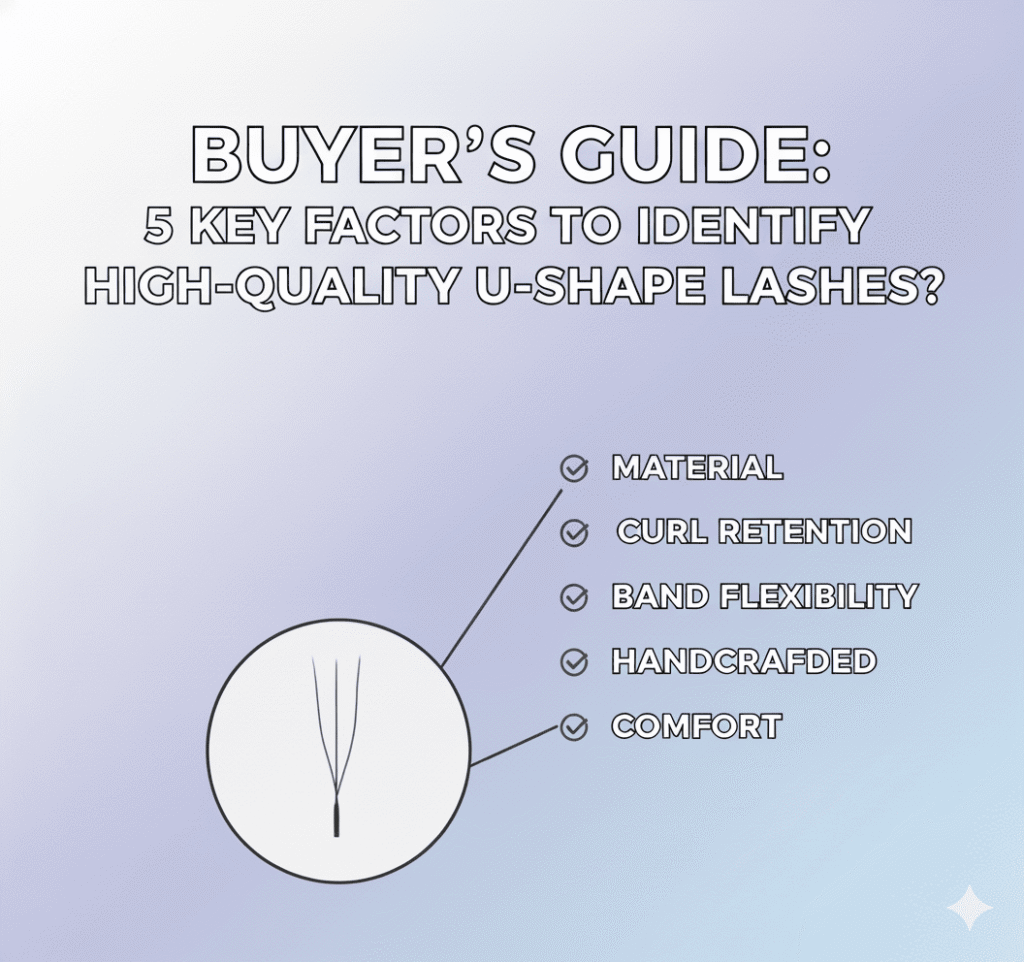
Choosing the Right Lash Glue Formula
When selecting a lash glue formula, consider the type of lash extensions you’re working with and your client’s natural lashes. Different glue formulas cater to varying levels of sensitivity and desired wear time. High-quality adhesive brands like Stacy Lash Premium Pro and BELO Lash offer specialized options for various lashing styles and needs.
Key Factors to Consider:
- Drying Time: Fast-drying adhesives are excellent for experienced technicians but might be challenging for beginners. Opt for a drying time that matches your skill level to prevent premature curing.
- Retention: Longer retention times mean clients need infill appointments less frequently. However, stronger adhesives may contain more potent ingredients, which can sometimes trigger allergies or sensitivities.
- Sensitivity: For clients with sensitive eyes, choose formulas with fewer irritants. Look for hypoallergenic options to minimize the risk of reactions.
- Viscosity: Thicker adhesives offer a stronger bond but can be more challenging to work with. Thinner adhesives may be easier to apply but might not provide as robust a hold.
Understanding these factors will help you select the perfect formula for each client, ensuring a safer and more efficient lashing experience.
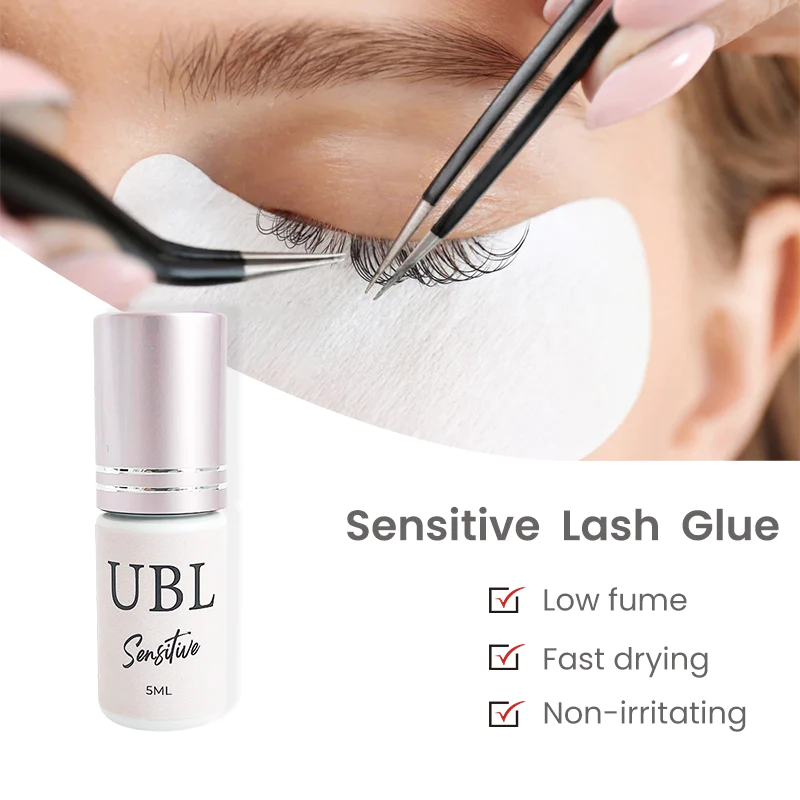
Sensitive Lash Glue
Ideal Room Conditions for Lash Glue Application
Your workspace environment can make or break your lash glue’s performance. Ideally, keep the temperature between 68°F and 72°F (20°C to 22°C). Steady temperatures mean your adhesive will cure just right—neither too quickly nor too slowly. Temperature swings? Avoid them! They can mess with your results.
Temperature isn’t everything. Think about air quality and ventilation too. Poor ventilation lets fumes build up, impacting the glue and irritating you and your client. Good airflow makes a world of difference, easing the curing process and keeping everyone comfy during application.
Mixing an optimal temperature with proper ventilation creates a pro setting for perfect lash applications. Regularly check these conditions to ensure your glue performs at its best, giving you sleek and long-lasting lash extensions.
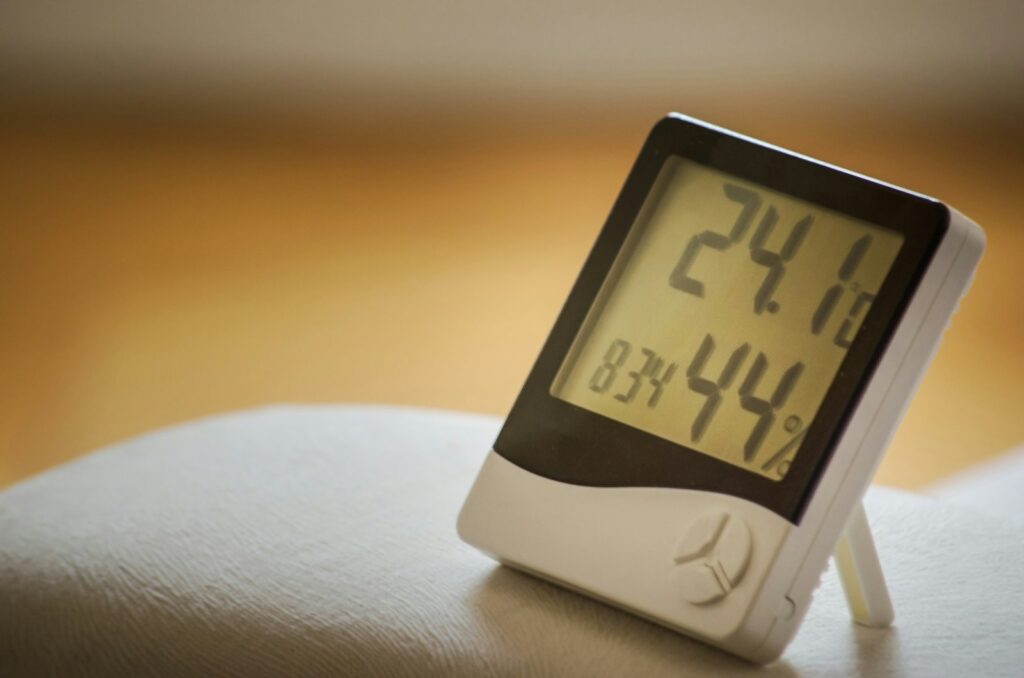
Maintaining Optimal Humidity Levels
Humidity is crucial for a smooth lash extension process. Ideally, keep humidity levels between 45% to 60%. This helps the adhesive cure at a controlled rate, reducing shock polymerization.
But controlling humidity can be tricky, especially in climates with very high or low levels. A hygrometer can be a lifesaver. This tool monitors humidity, allowing you to adjust conditions as needed.
If your humidity is too low, consider using a humidifier. This adds moisture to the air, preventing your adhesive from drying too fast. If it’s too high, a dehumidifier can help by removing excess moisture.
You can also use desiccant packets in your adhesive storage area. These packets absorb moisture and help keep your lash glue fresh.
Don’t forget, maintaining humidity is about more than just equipment. Your application technique matters too. Work quickly and efficiently so the glue doesn’t react unpredictably. With the right training and practice, you can master this skill and avoid shock polymerization.
Temperature Control: Why It Matters
Temperature plays a crucial role in preventing shock polymerization during lash extensions. But why does it matter so much? Simply put, the temperature of your workspace can greatly impact how your lash glue behaves.
High temperatures make adhesive cure faster. This can cause the glue to dry quickly on the outside while staying wet inside, leading to improperly stuck lashes. On the other hand, low temperatures slow down the curing process, risking lashes shifting or falling off before bonding securely.
What’s the ideal temperature? Maintain your room temperature between 68°F and 72°F (20°C to 22°C). This range ensures the adhesive cures at a controlled pace, giving you strong, lasting bonds without premature drying or delayed setting.
Watch out for external factors! Direct sunlight can create hotspots, and air conditioning vents can produce cooler patches. Position your workstation away from these extremes. Using a reliable thermometer to keep an eye on room temperature helps a lot.
By keeping your workspace within the ideal temperature range and avoiding sudden changes, you create a stable environment for optimal adhesive performance. This minimizes shock polymerization, ensuring each lash extension is applied smoothly and securely.
The Role of Adhesive Storage in Preventing Shock Polymerization
Proper storage of your lash adhesive is crucial to prevent shock polymerization. Adhesives are sensitive to their environment, and incorrect storage can lead to premature curing or shock polymerization. Here are some easy tips to keep your lash glue effective:
- Store in a Cool, Dry Place: Keep your glue somewhere with a steady temperature and away from sunlight. Sudden changes in temperature can ruin the adhesive.
- Avoid Humidity: High humidity can speed up curing and cause shock polymerization. Store your glue in an airtight container with silica gel packets to keep it dry.
- Refrigeration: Some professionals store unopened glue in the fridge to extend its shelf life. Be sure to let it warm to room temperature before using to avoid condensation.
- Sealed Containers: Always tightly seal the bottle after each use. Exposure to air can thicken the glue and make it less effective.
- Use by Expiry Date: Check the expiration date. Using expired glue increases the risk of shock polymerization and can affect the quality of your lash extensions.
- Regular Rotation: Use a “first-in, first-out” system to ensure you use the oldest glue first. This helps prevent your adhesives from sitting unused and deteriorating over time.
Following these storage tips will help you maintain the quality of your lash adhesive and greatly reduce the chances of shock polymerization. Proper storage not only extends the life of your glue but also ensures better performance during lash application.

Proper Lash Glue Dispensing Techniques
Mastering lash glue dispensing techniques is key to avoiding shock polymerization. Here’s how to make sure everything goes smoothly:
- Measure Glue Drops: Use a glue dropper or microfibre applicator for small, precise glue drops. This reduces waste and gives you better control.
- Avoid Contaminants: Keep your workspace and tools clean to prevent impurities from interacting with the glue. Even tiny particles can cause early polymerization.
- Refresh Often: Change your glue drop every 20-30 minutes. Lash glue can start to cure quickly in the air, so this step keeps it effective.
- Cap it Tight: Always cap the glue bottle tightly when not using it. This minimizes air exposure and stops the glue from hardening in the bottle.
- Work in Sections: Apply glue to a few lashes at a time. This way, you have enough time to adjust each lash, preventing the glue from setting too quickly.
Follow these tips, and you’ll keep control of the application process, avoid shock polymerization, and get perfect lash extensions every time.
Expert Tips for Safe Lash Glue Application
Applying lash glue correctly is key to healthy lashes and a stunning finish. Here’s how to do it right:
- Use Minimal Glue: Less is more. A small amount of adhesive usually does the job and helps avoid shock polymerization.
- Work Quickly but Carefully: The glue starts drying the moment it’s exposed to air. Be swift and precise to keep the glue at its best.
- Isolate Natural Lashes: Separate each natural lash properly. This avoids clumping, improves bonding, and reduces the risk of shock polymerization.
- Keep Adhesive Cool: Use cooling pads or fans to keep the glue at a stable temperature and prevent early drying.
- Avoid Skin Contact: Apply the glue to the lash extensions, not the skin, to avoid irritation and maintain adhesive effectiveness.
- Practice Wet-to-Dry: Dip the extension in glue and let the excess drain for a second before applying. This helps control glue use and ensures a clean application.
Follow these tips for a smooth lash extension process, reducing the risk of shock polymerization and ensuring beautiful, long-lasting results.

Step-by-Step Guide to Applying Lash Extensions Safely
The key to applying lash extensions safely and effectively lies in meticulous preparation and precise application techniques. This guide will walk you through each step to ensure a flawless result, minimizing the risk of shock polymerization and enhancing client satisfaction.
- Prepare Your Workspace:
Keep your workspace clean. Sanitize tools and organize supplies—lash extensions, adhesive, tweezers—all within easy reach. - Conduct a Client Consultation:
Chat with your client about their needs and any allergies. This helps you select the right lash extensions and adhesive. - Cleanse the Natural Lashes:
Use a gentle, oil-free cleanser to remove any makeup or oils. This helps the adhesive bond better. - Apply Eye Pads:
Place under-eye pads or tape to protect the lower lashes and skin. Ensure client comfort. - Dispense a Small Amount of Adhesive:
Add a small drop of adhesive to a jade stone or adhesive tile. This keeps it fresh and prevents quick drying. - Isolate Natural Lashes:
Use isolation tweezers to isolate one natural lash. This prevents lashes from sticking together. - Pick and Dip the Extension:
Grab a single lash extension with tweezers. Dip the base lightly into the adhesive. Avoid excess glue to prevent clumpiness. - Apply the Extension:
Place the extension on the isolated lash, about 1-2 mm from the eyelid. Hold for a few seconds to set. - Repeat:
Continue isolating, dipping, and applying extensions. Work in small sections to keep control and precision. - Cure the Adhesive:
After applying all extensions, use a nano mister or nebulizer to mist the lashes lightly. This helps to cure the adhesive and control moisture. - Final Check:
Inspect for any stickies or misshaped lashes. Correct any issues immediately. Ensure each extension is securely bonded. - Post-Application Care:
Give aftercare instructions. Advise avoiding water, steam, and oil-based products for 24-48 hours. Teach gentle handling and regular maintenance.
Following these steps ensures a safe, professional lash extension application. Stay detailed and use precise techniques to minimize shock polymerization risk, achieving gorgeous and long-lasting lash extensions for your clients.
Troubleshooting Common Lash Glue Issues
When it comes to lash extension applications, encountering issues with lash glue is not uncommon. Here’s how you can tackle some of the most frequent problems:
Glue Curing Too Quickly
If your lash glue hardens too fast, it might be due to high humidity. To fix this:
- Control Humidity: Use a dehumidifier to keep humidity between 40-60%.
- Slow-Drying Glue: Pick an adhesive with a slower curing time.
- Proper Storage: Store glue in an airtight container with silica gel packs.
Extensions Not Adhering Properly
When extensions don’t stick, consider these solutions:
- Check Glue Quality: Make sure your adhesive is fresh.
- Prep Natural Lashes: Thoroughly cleanse lashes to remove oils and debris.
- Control Environment: Keep the room temperature between 68-72°F.
White Residue on Lash Extensions
A white film on extensions may be due to shock polymerization. Avoid this by:
- Monitor Humidity: Keep humidity levels stable.
- Nanomister Use: Hold the nanomister at a proper distance to prevent over-curing.
- Avoid Over-Cleansing: Wait until the glue is fully cured before cleaning the lashes.
Lash Glue Allergy or Sensitivity
If clients show reactions to lash glue, manage it by:
- Patch Test: Conduct a patch test 24-48 hours beforehand.
- Low-Fume Adhesives: Use adhesives made for sensitive clients.
- Ventilation: Ensure good airflow in your workspace.
Using these tips and the right equipment can turn your lash application process from problematic to perfect.
FAQs About Lash Glue and Shock Polymerization
Humidity Matters Humidity plays a crucial role in preventing shock polymerization. Aim to keep your workspace humidity between 40% and 60%. Too much moisture can speed up the process, while too little can slow it down, causing all sorts of issues.
Tools for the Job To keep things in check, invest in a reliable hygrometer. Pair it with a humidifier or dehumidifier as needed to create the perfect environment for your lash glue.
Temperature Tips Lash glue works best between 68°F and 72°F (20°C to 22°C). Outside this range? It can turn thick and tacky if it’s too cold, or runny if it’s too hot. Neither is ideal for a smooth application.
Smart Storage Store your lash glue in a cool, dark place with the cap tightly sealed. Adding silica gel packs can help keep the environment dry, protecting the glue’s quality.