Stocking up on lash extensions supplies sounds simple—until you’re mid-appointment and realize you’re out of microbrushes, your lash adhesive is acting up because the humidity shifted, or your “one-size-fits-all” trays don’t match your client’s mapping. This guide is built for lash artists (and serious DIYers) who want a reliable, professional setup: the right eyelash supplies, smart backup quantities, and a system that keeps your station clean, compliant, and profitable. Consider this The Ultimate Guide to Stocking Up on Lash Extensions Supplies—a practical roadmap you can use to build, expand, or refresh your inventory without overspending.
Start Here: What Supplies Do I Need for Lash Extensions (Really)?
If you’ve ever asked, “what lash extension supplies do I need” or “what supplies do i need for lash extensions”, the true answer depends on three things:
- Service menu (classic set only vs. adding volume sets, wispy, mega volume, wet set, etc.)
- Work environment (humidity, temperature, ventilation)
- Your workflow (speed, preferred lash application techniques, client sensitivity)
That said, nearly every kit—home or pro—needs the same core categories:
- Eyelash products: lash trays, primers/cleansers, sealants (optional), removers
- Lash adhesive: 1–2 active bottles plus backups (properly stored)
- Lash tools: tweezers, scissors, lash mirrors, adhesive accessories
- Lash accessories: tapes, pads, brushes, micro applicators, disposables
- Sanitation & safety: disinfectants, PPE, tool storage, allergy-safe options
- Organization: bins, labels, FIFO rotation, inventory tracking
This article includes a full lash extension supply checklist and tips on how to build lash extension kit setups for classic, volume, and hybrid—without buying a bunch of duplicates.
The Golden Rule of Stocking Lash Supplies: Build a System, Not a Pile
When stocking lash supplies, think in “use cycles” rather than “one-off purchases.”
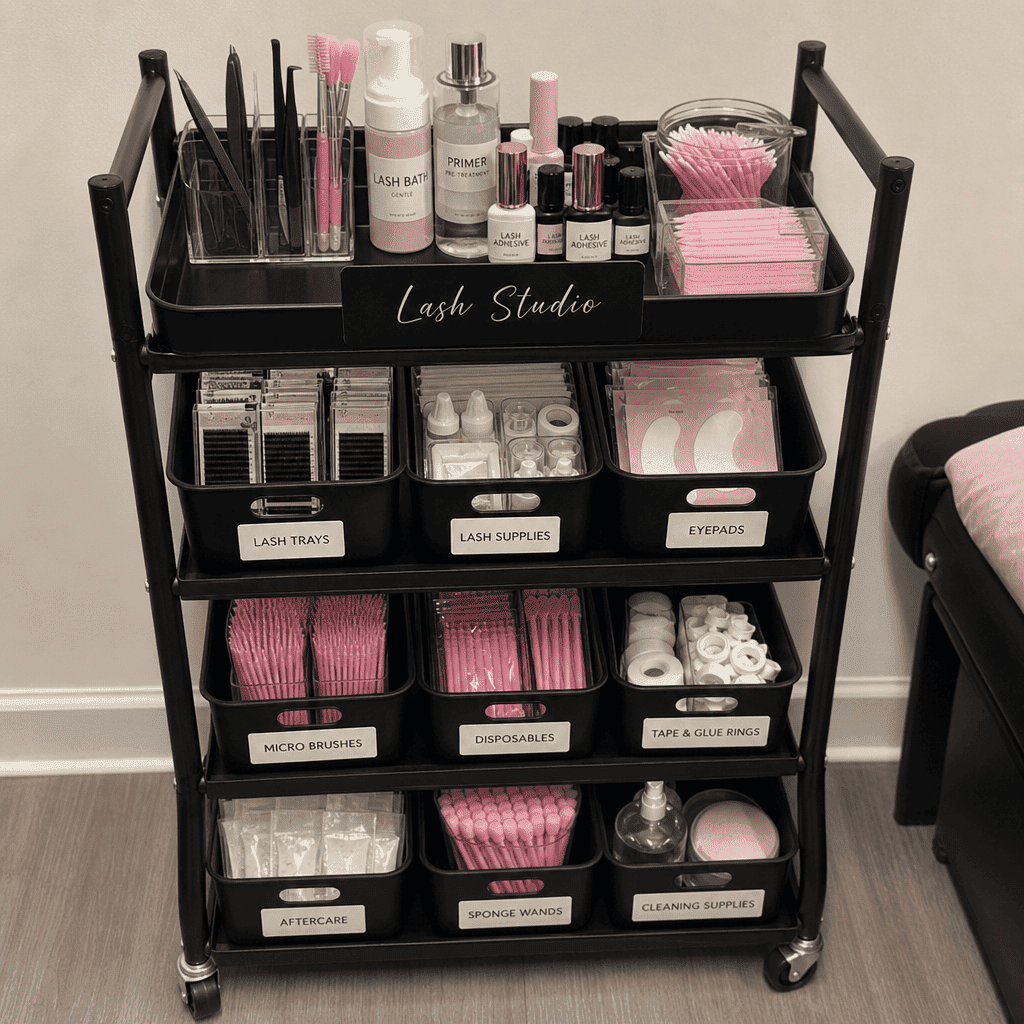
Recommended inventory system (simple and effective)
- Daily use bin: what you touch every appointment (tape, pads, disposables, brushes)
- Weekly restock bin: backup packs for the week
- Backstock: sealed bulk items + extra trays, stored away from heat/light
- Quarantine/returns bin: questionable items (dropped tweezers, opened products, expired glue)
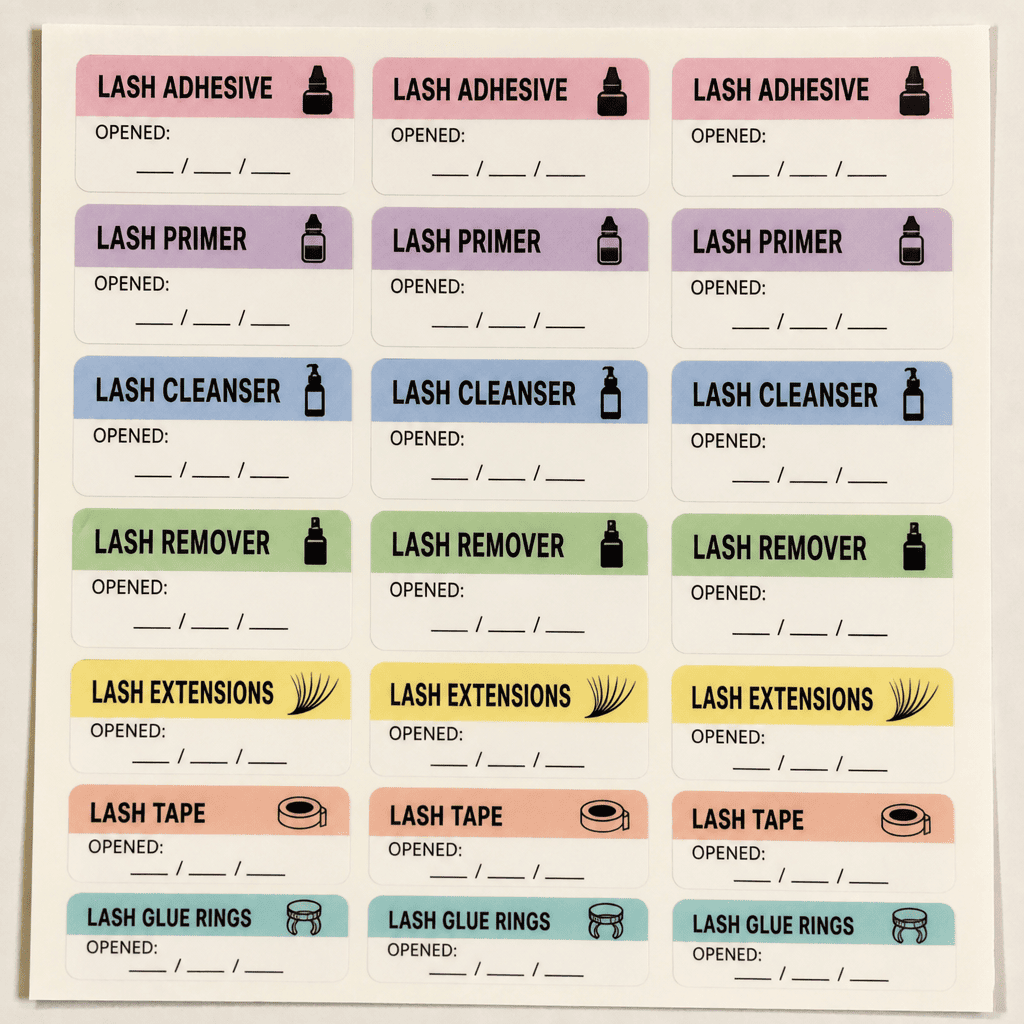
FIFO rotation (non-negotiable)
Use First In, First Out for:
- lash adhesive
- primers/cleansers
- removers
- gel pads/tapes (adhesives dry out)
Label everything with:
- Open date
- Expiry date
- Batch/lot (helpful if a product issue arises)
Lash Extension Supply Checklist (Core + Pro Upgrades)
Here’s a practical lash extension supply checklist you can copy into your notes app. This covers supplies needed for lash extensions from beginner to salon-grade.
Core lash extensions supplies (must-have)
Lash trays
- Classic trays (single lengths + mixed)
- Volume trays (0.03–0.07) if you offer volume
- Curl variety (C, CC, D commonly)
- Color trays (optional add-on service)
Lash adhesive & prep
- Lash adhesive (main + backup)
- Lash cleanser / lash shampoo (for retail or pre-clean)
- Primer (optional; depends on brand/workflow)
- Bonder/sealant (optional—can help retention when used correctly)
- Adhesive remover (gel or cream) + saline rinse tools
Pads, tapes, isolation basics
- Under-eye gel pads or foam pads
- Sensitive tape + stronger tape (two types helps a lot)
- Tape cutter or scissors
- Eyelid stickers (optional)
Tools
- Isolation tweezers (1–2 pairs)
- Pickup tweezers (1–2 pairs)
- Lash mirror
- Nano mister or fan (optional but common)
- Lash tile/stone/palette
- Microbrushes, lip wands, flocked applicators
- Disposable mascara wands
- Lint-free wipes
Sanitation & safety
- EPA-registered disinfectant or approved salon disinfectant (follow local rules)
- Barbicide-style container (where appropriate for tools)
- Alcohol wipes (for surfaces and some tools—verify compatibility)
- Gloves, masks
- Hand sanitizer + soap
- Clean storage pouches for tweezers
Pro upgrades (highly recommended)
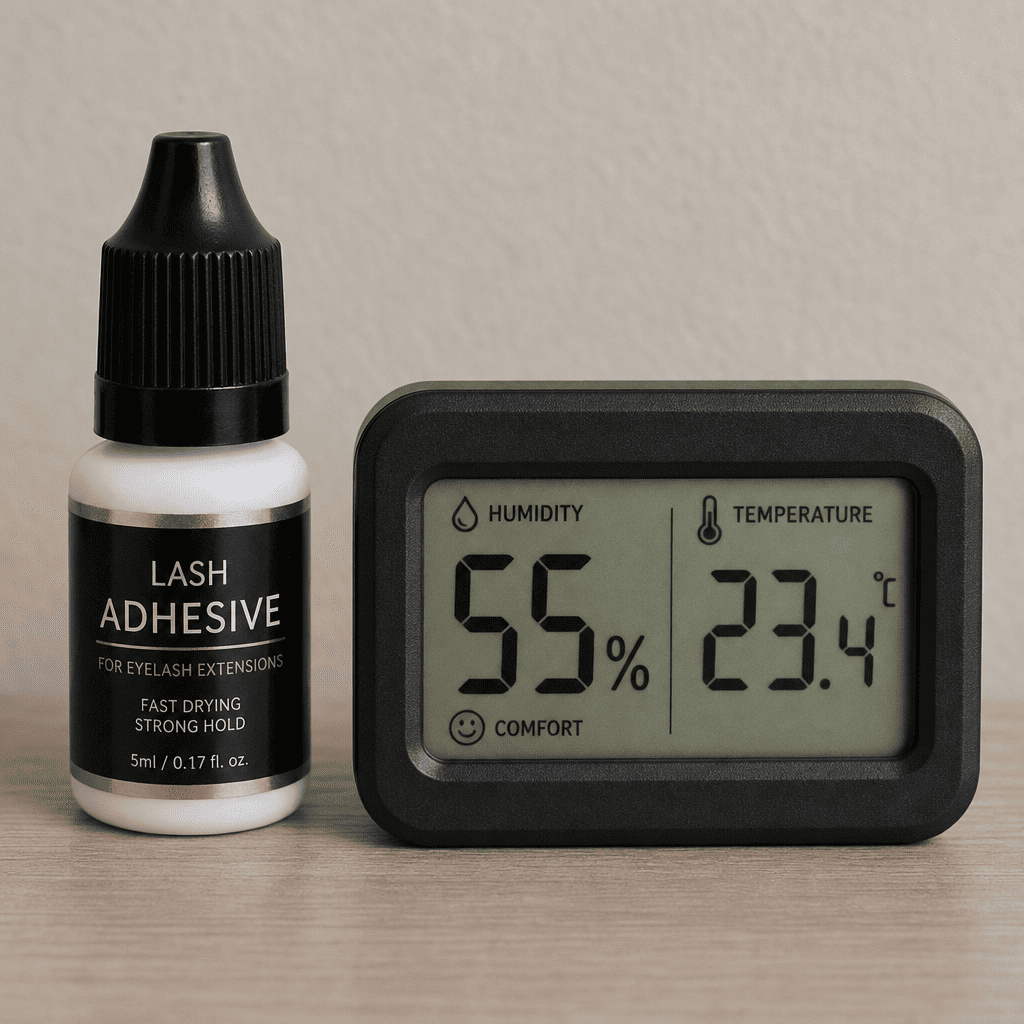
- Hygrometer + thermometer (for consistent glue behavior)
- Mini dehumidifier/humidifier (depending on your climate)
- Adhesive shaker (optional)
- Ventilation fan / fume extractor (especially if you’re sensitive)
This set of professional lash extensions supplies is enough to deliver consistent results and scale without chaos.
Choosing Lash Trays: Classic vs Volume, Diameter, Curl, and Finish
Your lash trays are the backbone of your service menu. If you’re expanding services, you’ll quickly notice that classic lashes vs volume lashes requires different stocking strategy.
Classic lashes vs volume lashes (what changes in your supplies?)
Classic
- Typically 0.10–0.20 diameter (depending on style and brand)
- You need strong isolation and consistent placement
- Stock more lengths for natural sets and balanced mapping
Volume
- Typically 0.03–0.07 diameter
- Requires volume-friendly tweezers and stable adhesive behavior
- Stock more curl options to create texture and lift
If you offer both, keep separate tray sections labeled:
- Classic
- Volume
- “Promade/fans” (if you use them)
- Specialty (brown, matte, colored)
Lash extension tray sizes guide (how to stock lengths without overbuying)
A realistic lash extension tray sizes guide for most artists:
- Most-used lengths: 8–13 mm (highest turnover)
- Support lengths: 6–7 mm (inner corners, mature clients)
- Statement lengths: 14–16 mm (dramatic sets—lower turnover)
Smart stocking tip: Buy mixed trays early on, then replace your most-used lengths with singles once you know your patterns. This reduces waste and avoids having 16 mm collecting dust.
Mink lash extensions supplies—do you need anything special?
People often ask about mink lash extensions supplies. In practice:
- Many “mink” lashes are marketing language; most professional lashes are PBT (synthetic) for consistency and hygiene.
- Stocking “mink-style” (matte, tapered) can satisfy the look without relying on animal-based sourcing.
- If your brand truly offers mink, ensure you can verify sourcing and hygiene handling.
Either way, “mink style” inventory management is the same: track curl/length/diameter and store away from dust and humidity.

Lash Adhesive: How to Stock It, Store It, and Make It Perform
Lash adhesive is where most supply waste happens—because it’s sensitive to time, temperature, humidity, and handling. If you want fewer bad glue days, your inventory plan needs glue rules.
How many adhesives should you keep?
For most artists:
- 1 active bottle (in rotation)
- 1 backup bottle (unopened)
- Optional: a sensitive/low-fume option for reactive clients
If you’re new, don’t hoard glue. Buy smaller quantities more often so you’re working with fresh product.
Best lash extension glue for beginners (what to look for)
When searching best lash extension glue for beginners, prioritize:
- Moderate dry time (not ultra-fast)
- Stable performance across a reasonable humidity range
- Clear storage instructions + consistent batch quality
- Lower fume option if you’re still mastering placement speed
Beginners often blame glue when the real issue is too-slow placement or poor isolation. A slightly slower adhesive gives you control while you build speed.
Lash extension glue storage humidity (the #1 overlooked factor)
Lash extension glue storage humidity matters even when you’re not working. Follow these principles:
- Store unopened glue in a cool, dark place
- Use an airtight container with silica packs (avoid direct contact with nozzle)
- Keep away from sunlight, heaters, and steamy bathrooms
- Don’t store glue next to cleansers/primers that release vapors
In-room humidity affects the curing behavior during lash application, while storage humidity affects shelf life and consistency.
Prevent lash adhesive fumes (comfort + retention)
If you want to prevent lash adhesive fumes from bothering you or your clients:
- Improve ventilation (fan angled away from client’s face)
- Use correct pad placement to prevent under-eye irritation
- Avoid overloading adhesive (tiny, controlled beads)
- Consider a bonder used correctly after application (brand instructions matter)
- Keep your adhesive fresh and sealed between drops
Lash adhesive retention tips (stocking choices that improve retention)
Strong retention is partly technique, partly environment, partly supplies. These lash adhesive retention tips depend on having the right items on hand:
- Cleanse: keep a professional-grade lash cleanser and use it consistently
- Dry: stock lint-free wipes and air blowers/fans
- Control humidity: keep a hygrometer visible at your station
- Use fresh adhesive: rotate bottles and track open dates
- Use compatible products: some primers/removers from different lines can affect curing
Lash Tools: Tweezers, Isolation, and the Truth About “One Pair Does All”
Your lash tools define speed, precision, and how exhausted your hands feel after a full day.
Lash tweezers volume vs classic (what to stock)
If you’re comparing lash tweezers volume vs classic, here’s the simplest approach:
For classic
- 1 straight isolation tweezer (fine tip)
- 1 slightly curved pickup tweezer (comfortable tension)
For volume
- 1 isolation tweezer (same as above)
- 1 volume tweezer (boot, L-shape, or curved) designed to grip fine fibers
You can do classic with a volume tweezer sometimes—but volume is far harder with a classic-only tweezer. If you’re offering volume, invest in a dedicated volume tweezer with reliable grip.
Quantity recommendation (to avoid downtime)
- Minimum: 2 isolation + 2 pickup/volume tweezers
- Ideal: 3–4 of each if you work full-time
Why? Tweezers get dropped, misaligned, or need soaking. If you only own one pair, your whole day stops.
Lash Accessories & Disposables: The Quiet Heroes of Consistency
This is where most “surprise shortages” happen. Lash accessories may feel small, but they keep you efficient.
Stock these lash accessories in bulk
- Gel pads / foam pads (2–3 brands if you see varied sensitivity)
- 2 types of tape (gentle + firm hold)
- Microbrushes (multiple sizes)
- Lip wands / flocked applicators
- Mascara wands (retail-friendly too)
- Lint-free wipes
- Disposable spoolies for client aftercare kits
Lash extension supplies for home use (what changes?)
If you’re building lash extension supplies for home use, the list should be smaller and safer:
- Prioritize low-fume adhesive or consider cluster alternatives (depending on skill)
- Focus on hygiene (single-use tools, sanitized surfaces)
- Avoid overcomplicated primers and speed glues
If you’re a professional selling retail items, home kits should emphasize:
- Lash shampoo
- Spoolies
- Cleanser brush
- Aftercare cards
Allergy Safe Lash Extension Products: Stock Options Before You Need Them
Clients can react to fumes, tape adhesives, gel pads, or prep products. Keep options ready so you’re not scrambling.
What to keep on hand (safer alternatives)
For allergy safe lash extension products, stock:
- Sensitive tapes (lower-tack)
- Foam pads (for clients who dislike gel)
- Low-fume/sensitive adhesive option
- Gentle cleanser (fragrance-free if possible)
Important: “Hypoallergenic” doesn’t mean “non-reactive.” Your job is to reduce exposure, patch test when appropriate, and document product use.
Sanitation: Sanitize Lash Tools Best Practices (Supplies You Must Stock)
A clean station is not optional—it’s your reputation and risk management.
Sanitize lash tools best practices (simple supply list)
To follow sanitize lash tools best practices, keep:
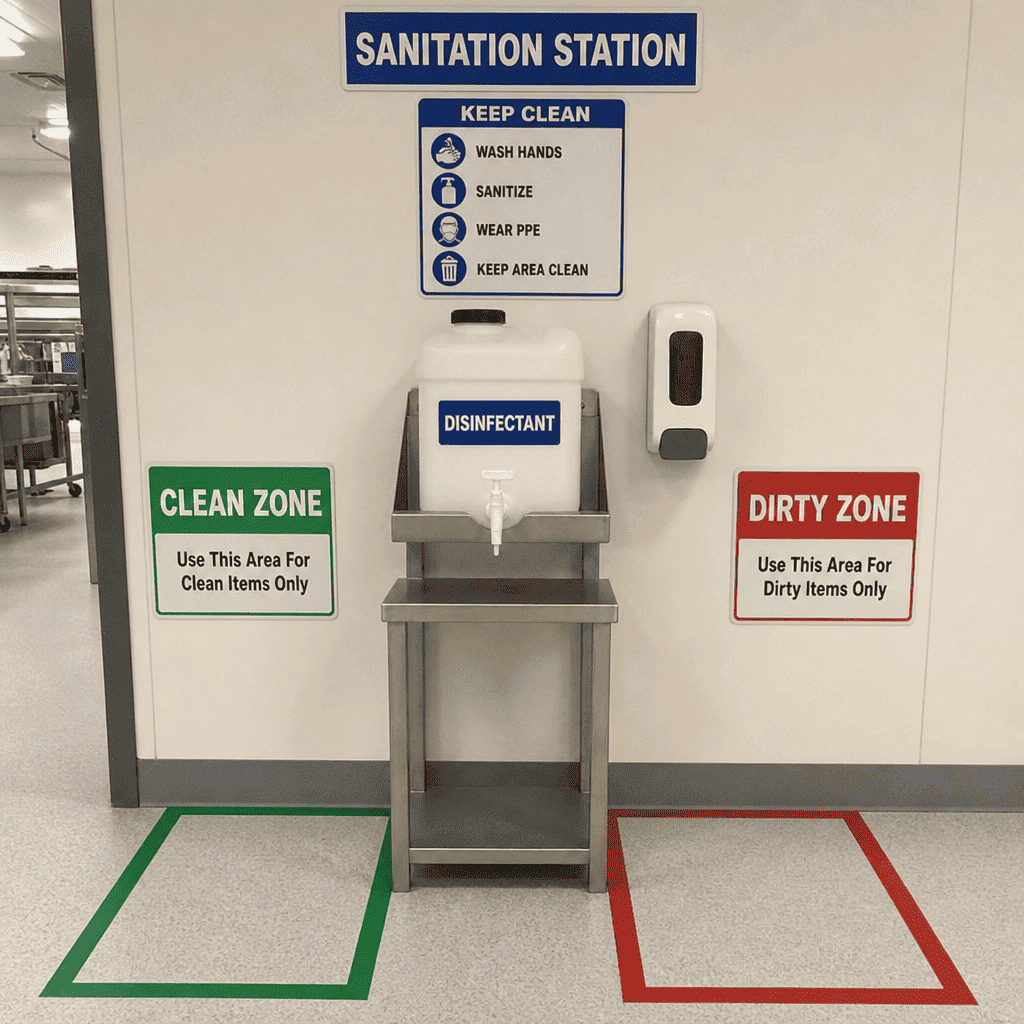
- Approved disinfectant (tool-safe)
- Covered disinfecting container
- Timer (yes, contact time matters)
- Clean rinse station setup (if required by product)
- Drying rack or lint-free drying area
- Individual tweezer sleeves/cases
Workflow tip: Create a “dirty tools” tray and a “clean tools” tray so nothing crosses. This reduces contamination and saves mental load.
How to Build Lash Extension Kit by Service Type (Classic, Hybrid, Volume)
If you’re planning your menu, this is the easiest way to prevent overbuying: build a modular kit.
Classic kit essentials
- Classic trays (0.15 recommended as staple; add other diameters as needed)
- Standard adhesive + backup
- Isolation + pickup tweezers
- Pads/tape/disposables
- Cleanser + remover
Hybrid kit add-ons
- Add volume trays (0.05–0.07) for spikes/textured fans
- Add one volume tweezer
- Add more curl options (CC/D are common)
Volume lash extensions supplies (must-have add-ons)
For volume lash extensions supplies, add:
- 0.03–0.07 volume trays (mix + singles of your top sellers)
- 1–2 dedicated volume tweezers
- Extra lash tiles/palettes (volume work benefits from organization)
- Faster adhesive option only if your placement speed supports it
Lash Extension Starter Kit Alternatives: Upgrade Without Rebuying Everything
Many artists start with a kit, then realize half of it doesn’t suit their style. Good news: you can upgrade strategically.
Lash extension starter kit alternatives (the smart approach)
Instead of buying another full kit, replace only the high-impact items:
- Better tweezers (biggest immediate improvement)
- More appropriate adhesive for your room conditions
- Trays in your true “money lengths”
- Higher-quality disposables (pads that don’t slip, tape that doesn’t irritate)
This approach keeps costs controlled while your results improve fast.
Wholesale Lash Extension Supplies Online: When It’s Worth It (and When It Isn’t)
Buying wholesale lash extension supplies online can boost margins—but only if you already know your usage rates.
Buy wholesale when:
- You’ve tracked your monthly consumption for 60–90 days
- You know your top 3 lengths/curls/diameters
- You have proper storage space (cool, dry, organized)
Avoid wholesale when:
- You’re still experimenting with brands
- You can’t store adhesive properly
- You’re attracted to “deal” bundles with random lengths you won’t use
Pro tip: wholesale works best for disposables (microbrushes, mascara wands, tape), not necessarily adhesives unless turnover is high.
Budgeting & Par Levels: How Much Should You Stock?
To avoid stockouts without overbuying, set “par levels” (minimum quantities). Here’s a practical baseline:
Suggested par levels (adjust to your client volume)
Adhesive
- 1 open + 1 unopened backup (minimum)
- Add a sensitive option if you see frequent irritation cases
Pads
- 30–60 pairs minimum (pads go fast)
Tape
- 6–10 rolls across 2 types
Microbrushes / applicators
- 200–400 count total across types
Lash trays
- Mixed trays for variety + singles for your top lengths
- Keep at least 1–2 unopened trays of your most-used mapping lengths
Track usage for one month, then tune your par levels based on reality.
Retention, Speed, and Profit: Supplies That Actually Move the Needle
If you’re trying to improve results (not just “have more stuff”), prioritize supplies that affect:
1) Retention
- Cleanser
- Fresh adhesive + proper storage
- Hygrometer
- Compatible prep products
2) Speed
- Comfortable tweezers with correct tension
- Organized trays and tiles
- Reliable tape/pads that don’t shift
3) Client experience
- Low-irritation pads/tapes
- Better fume control and ventilation
- Clean aftercare kits (spoolie + instructions)
These are “high ROI” beauty supplies because they reduce redo work and increase rebookings.
A Simple Restock Routine (So You Never Run Out Mid-Set)
Use this weekly system:
- Daily (2 minutes): refill disposables bin; check pads/tape count
- Weekly (15 minutes): audit trays + adhesive; rotate FIFO; wipe storage drawers
- Monthly (30 minutes): review sales + service mix; adjust par levels; bulk order basics
This is the difference between “always prepared” and “always reacting.”
Prominent Call to Action: Stock Smarter with UBLash
If you want to simplify your ordering and build a kit you can trust, make UBLash your go-to source for lash extensions supplies. Whether you’re upgrading your lash tools, refining your lash adhesive lineup, or expanding into volume trays and professional lash extensions supplies, UBLash can help you stock consistently, scale confidently, and keep your lash station fully service-ready. Browse UBLash, choose the staples that match your technique, and place a restock order before your next busy week—your future self (and your clients) will thank you.
Quick Takeaway: The Ultimate Guide to Stocking Up on Lash Extensions Supplies
The best inventory is the one that supports your real workflow: the right eyelash supplies, stable lash adhesive (stored correctly), dependable lash tools, and enough lash accessories to prevent mid-appointment shortages. Use this guide and the lash extension supply checklist to build a system—then let your restock routine keep everything running smoothly.